Archive | April, 2013

The second one with the granola bar box canvas

27 Apr

Happy Soggy Saturday from Nashville.

I’m heading out to the Zero Landfill project again this morning to see if we can find some tile for my workspace next to the sink in our garage. I never realized how fantastic it was to have that workspace when we bought this house 6 years ago, but now I know better; washing paint and adhesive down the drain in the house is a no-no. Anyhow, my hubs wants to tile the workspace for me and who can pass up free tile?!

Today I’m going to share another canvas I made from a granola bar box. I started this one with a really good friend in mine. She is one of those people who is bright and cheerful and makes you feel like a better person just to be around her. I wanted this art piece to somehow reflect that.
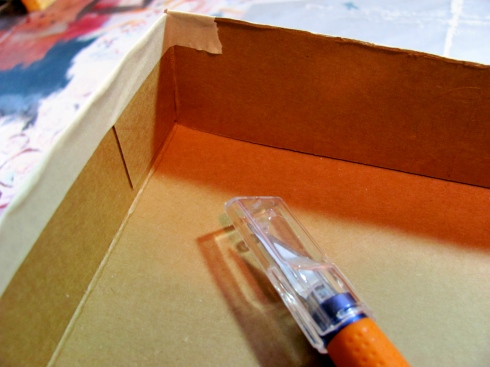
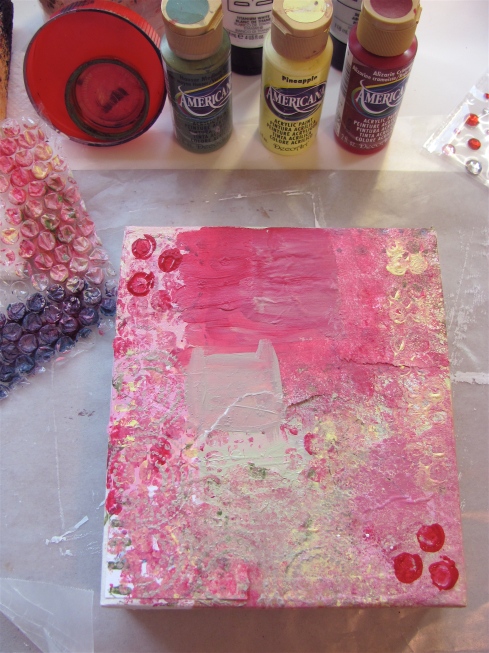
canvas 1I’ve shown you how I’ve constructed these canvases before but I never showed you the underside (you can read that original post here), so here’s what that looks like.
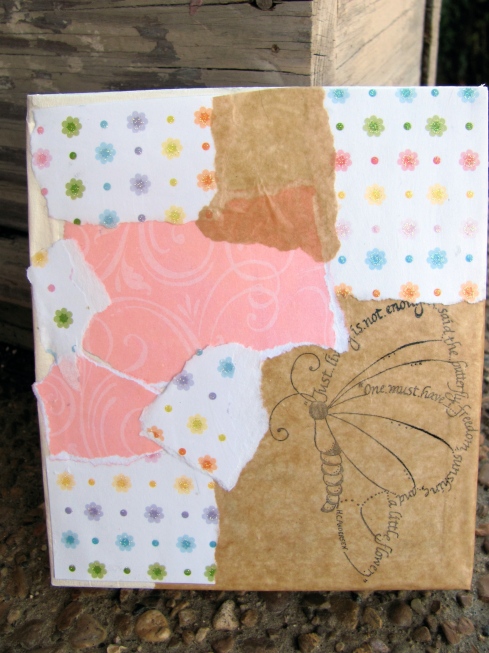
canvas 2I started with some colorful scrapbook papers and this butterfly stamped on a piece of kraft paper.

canvas 3

And then I started adding layers. I used a battery (the 3 red circles) a clothes pin (the green in the lower left corner) some Inkadinkado clear circle stamps and my all time favorite, bubble wrap.
canvas 4

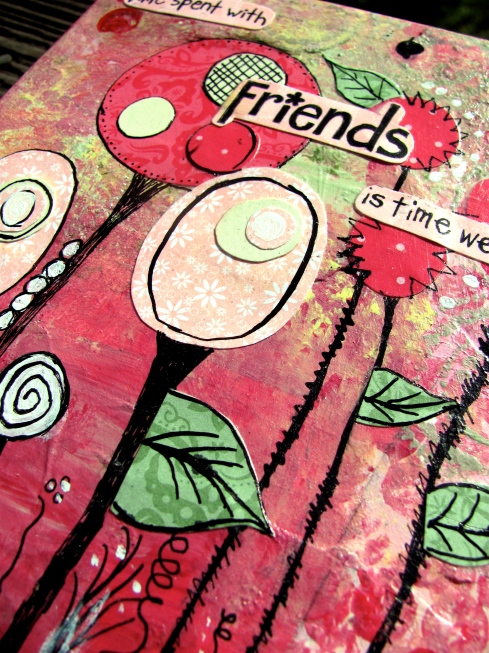
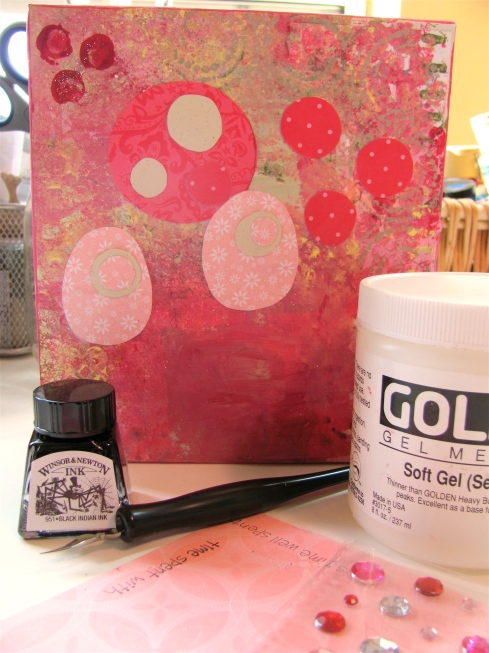
I decided my focal point would be flowers. So, I found scrapbook papers that went with the colors I’d been using and after several attempts, decided on what you see here. I used Soft Gel Medium as my adhesive. At this point, I thought I was going to add those rhinestones, but they just didn’t look right. However, I did break my cardinal rule of no glitter (it gets into everything) and added some cause it’s for JC and she loves glitter!
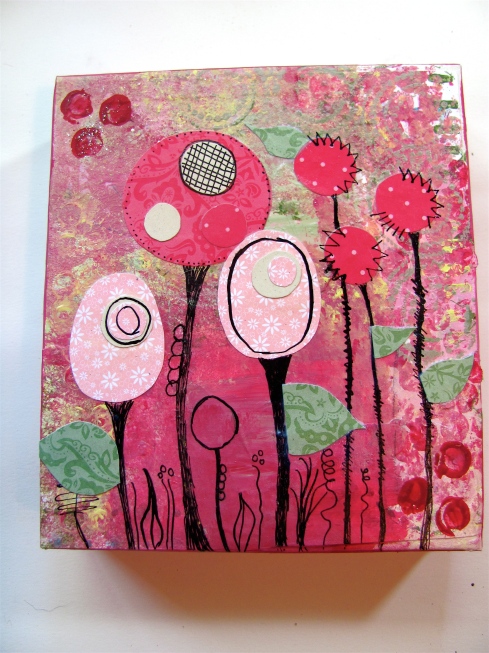
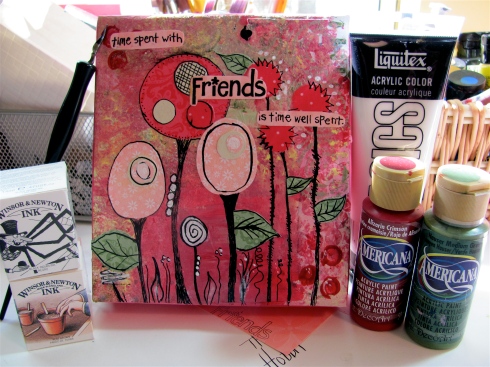
canvas 5I used Winsor & Newton drawing ink for the stems and some embellishments  (and if you haven’t tried drawing inks, you are missing out. I LOVE them!)
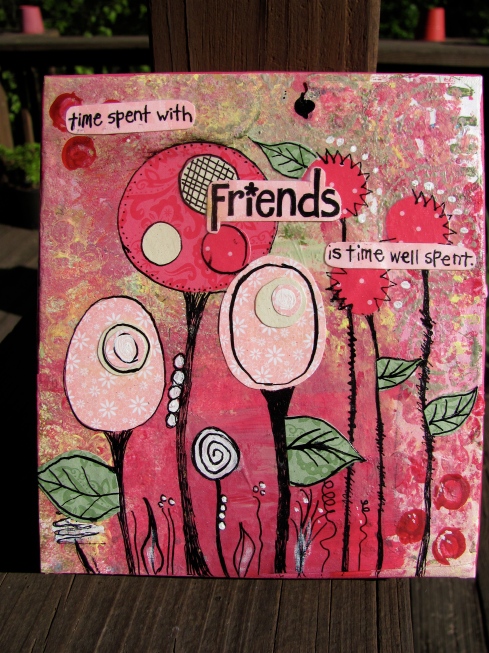
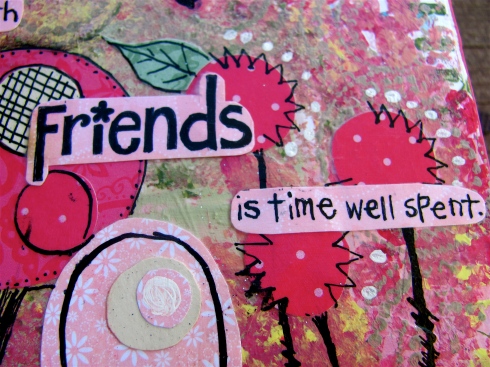
canvas 6I added a Stampin Up! stamp that reads “Time spent with friends is time well spent.” to complete it.
canvas 7

canvas 8

canvas 9I was really pleased with this piece. It turned out even better than I imagined and i think it captures my friend well. She is sparkly, bright, beautiful inside and out and a good friend.

Let me know what you think!

See you  next week.
Michelle
The one with the Zero Landfill Project

20 Apr

Happy Saturday!

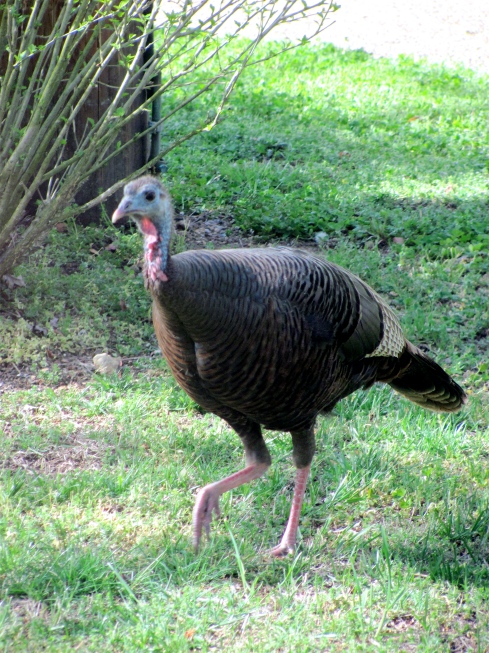
So, I’m sitting in my art room, uploading pictures for this weeks post and I catch movement out of the corner of my eye. I turn my head and this is what I see:

turkeyYep, that’s a turkey folks. We live in what I believe is now called a bedroom community, so it’s not like we’re out in the country. But we do get a ton of wildlife walking through our yard; it’s just usually the backyard. In fact, earlier today, I saw the tail end of our coyote running at the bottom of the hill in our backyard into the woods. Anyhow, turkeys tickle me so I had to shoot a few pics.

Today, I had the opportunity to take advantage of the Zero Landfill Project.

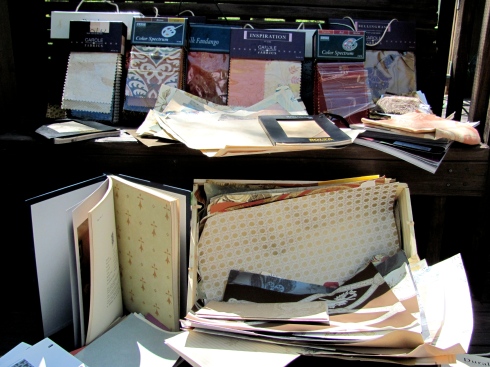
ZLPI have been waiting for this since my friend and fellow artist, Robyn, told me about it last week. If you’ve never heard of the ZLP, it’s an upcycling project benefiting local artists and educators while reducing items thrown into landfills. They put out a call to local architectural firms, interior designers etc to donate all the samples they would normally throw out. And because the ZLP is so freaking cool, they GIVE all the stuff away for FREE. FREE! I was like a kid in a candy store.

Here are the treasures I left with:

ZLF 1Not a bad haul, huh? I was able to get enough for my own personal projects, some for a friend of mine who also does art journaling, some to use in the mixed media workshop I’m designing (don’t worry, when it’s ready, I will share it with you!) and some to split up for a few programs I’m working on over the summer (for my day job).

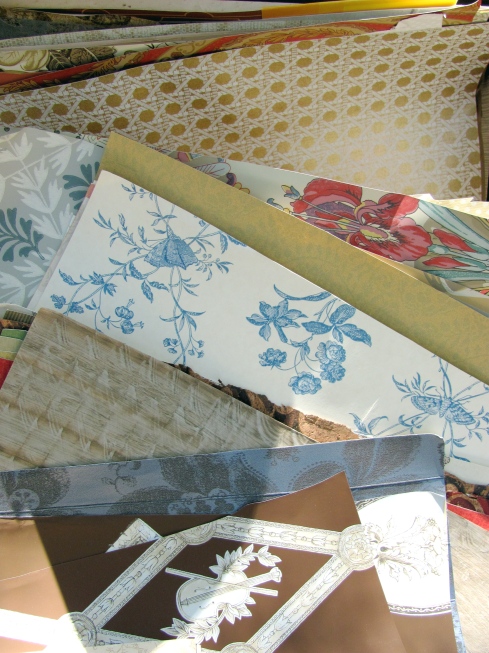
ZLP 3The wallpaper samples are amazing! Beautiful colors, some have incredible textures…..

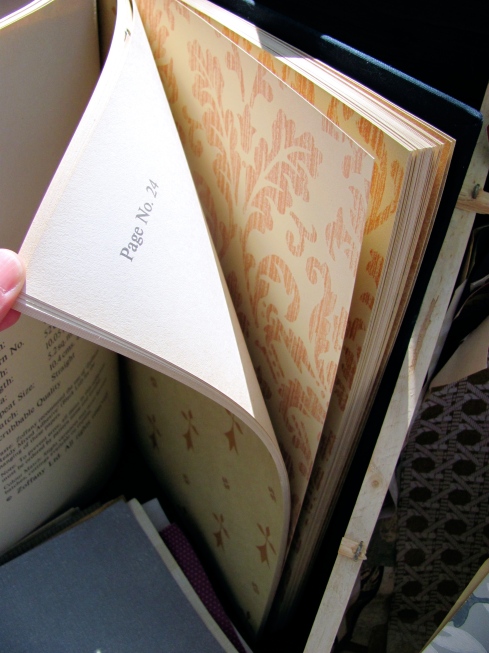
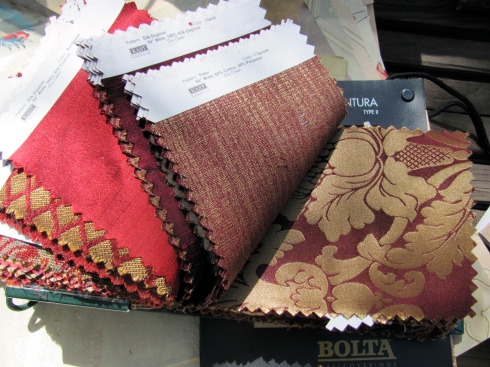
ZLP 2And this beauty. It’s a sample book filled with vintage looking papers (I kept this one for myself!)

ZLP 4

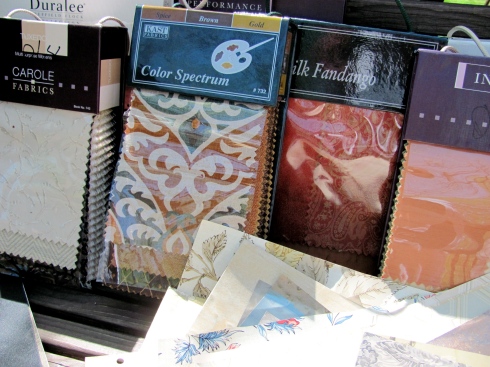
I haven’t used a lot of fabric in my art, but now I have enough to last, well, quite a long time!

ZLP 5Beautiful! And some of the patterns have already inspired new ideas!

This fantastic event is over two weekends, so I’m going back next Saturday with Robyn. I encourage you to check out the site to see if they do this in your area. And if so, it’s well worth the trip. I was assured that there would be even more treasure to find next week and I can’t wait!!!

Let me know if you are lucky enough to have a ZLP in your area and if so, what treasures did you find?

Till next week,
Cheers!
Michelle
The one with journal challenge #3

13 Apr

Happy Saturday.

So, if you’ve been following my blog, you know that I’ve already completed 2 out of the 5 journal layouts I challenged myself to work on. If you’re brand new to Studio B, you can read about that challenge here.

This week I worked on layout #3 and here is how it started out:

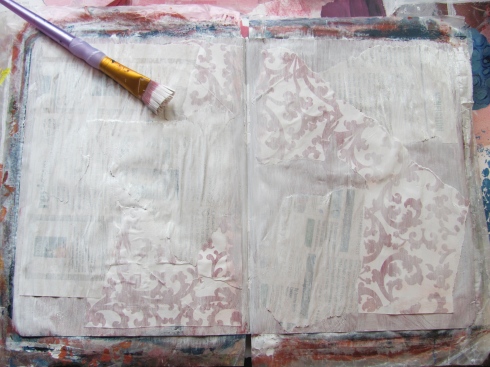
journal 3I went ahead and covered it with a layer of gesso to tone down all the harsh colors from the first layer of paint and the wrapping paper.

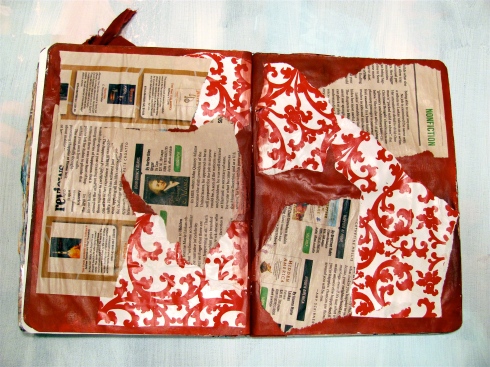
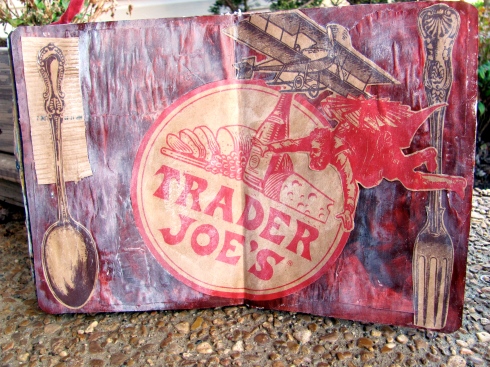
Journal 1The inspiration for this layout came from a Trader Joe’s bad. I’ve been frequenting TJ’s lately, and I kept getting those cool kraft bags that has some really fun artwork on them. (I have since bought a reusable TJ’s bag since I now go once a week. They have some really great gluten free items that I’ve been enjoying).

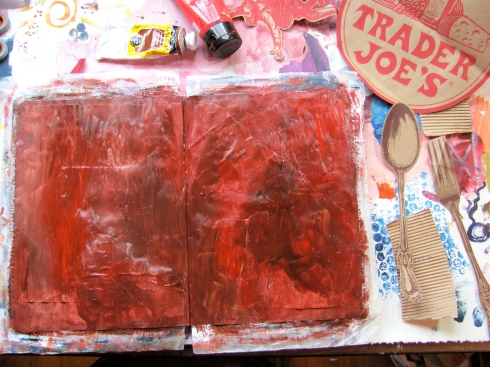
journal 2I mixed some Burnt Umber, Red Oxide and Naphthol Crimson for the background color.

journal 3Next, I cut out some of the more fun elements from the bag. This layout kinda designed itself.

journal 4The last layer is a gesso wash to tone it down a bit. Since I used Goldens Soft Gel Medium as my adhesive, it was easy to  wipe the gesso off those elements so they still stand out.

And layout #3 is done. Kind of easy and quick this week, but sometimes, that’s how it works out.

What do you think of my homage to Trader Joe’s? I’d love to read any comments.

Till next week,
Cheers!
Michelle
The one with the canvas out of a cereal box

7 Apr

Happy Sunday.

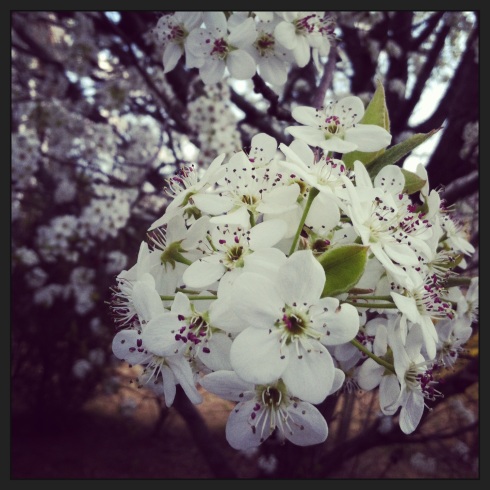
It finally feels like Spring here in Nashville! I love watching all the trees burst with flowers (seemingly) overnight! One of my favorites are the Bradford Pear trees:

BP

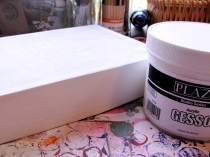
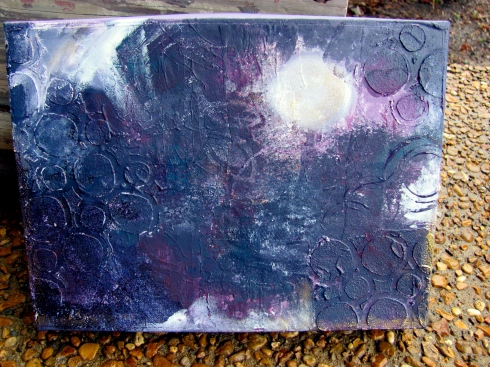
So, this week, I will share another up-cycled canvas; this time I made it out of a cereal box. I reinforced the edges of the box with masking tape and then covered with gesso. After the gesso dried, I cut the bottom of the box off, reinforced those edges with masking tape, re-gessoed and let it dry.

CB 1

CB 2

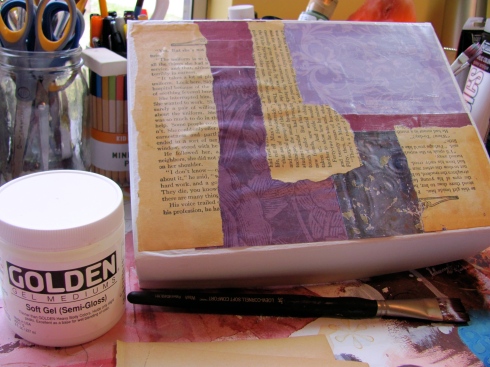
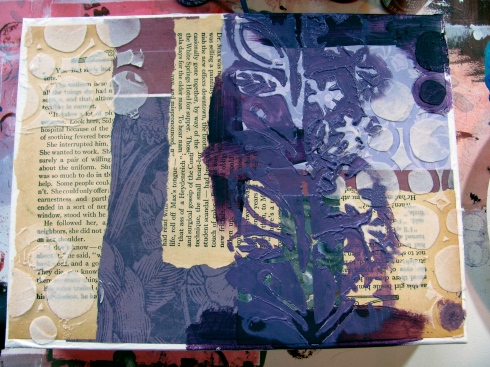
Next, I covered it with some scrapbook papers and book pages using my favorite, Golden Soft Gel Medium. This piece is for a friend whose favorite color is purple, so my choice of color pallet was easy.

CB 3

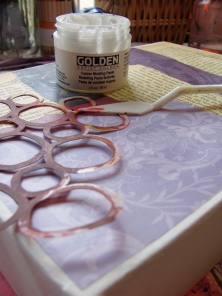
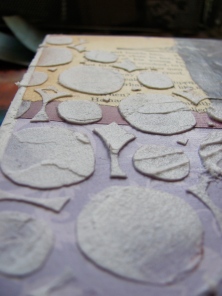
I thought some texture was in order so I used a circle stencil with some Golden Course Molding Paste.

CB 4

CB 5

CB 6

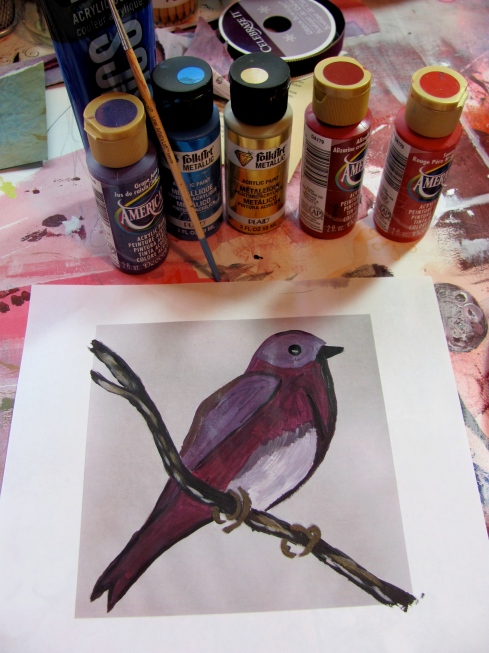
I printed off a picture of this bird (I did my best to make sure it royalty free) and painted him to fit my purple color pallet.

CB 7

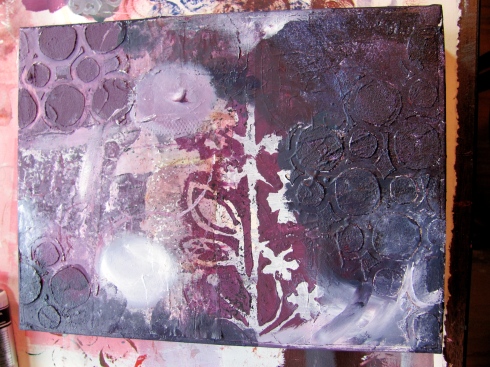
And now the fun part. Mixing shades of purple and adding to the piece. A bit here and there; using a stencil, painting the molding paste, adding until it felt right……

CB 8

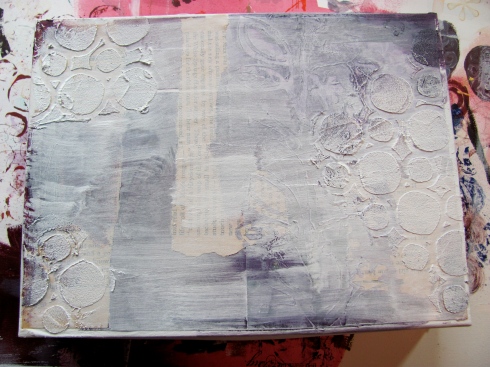
and not liking any of it so I covered it with a thinish layer of gesso. Using gesso in this way is a great way to tone down strong colors, unify colors (paint or paper, or any other material really) that may not at first glance go together; there are lots of fun ways to use it!

CB 9

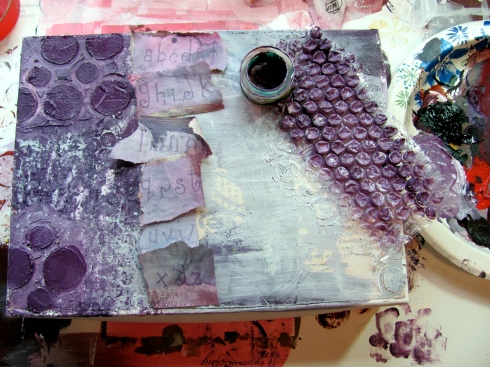
I used some painted newsprint that I had left over from my last art journal layout. My thought was to add some letter stamps as part of the background. Funny thing, the ink didn’t hold up to the soft gel medium. I’m not sure if the ink wasn’t dry enough or what, but after I adhered the pieces to the canvas, the ink disappeared. Oh, well, sometimes you try something and it works and other times, not so much.

CB 10

I used bubble wrap, another stencil, applied paint with my fingers (takes me back to my childhood – I LOVED finger painting!) and really kept adding layers until I was happy.

1

I think you can see all the textures and layers here. With my background finished, the only thing left it to add the focal point.

CB finish 2

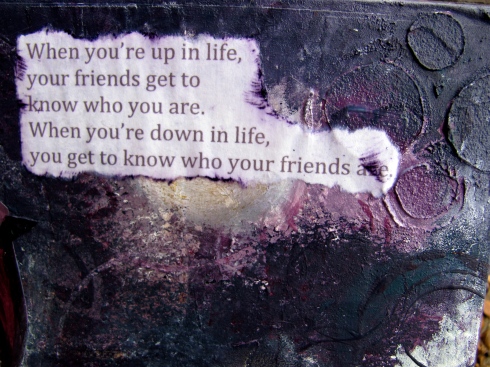
I really love this quote and I thought it was perfect for my friend.

CB finish

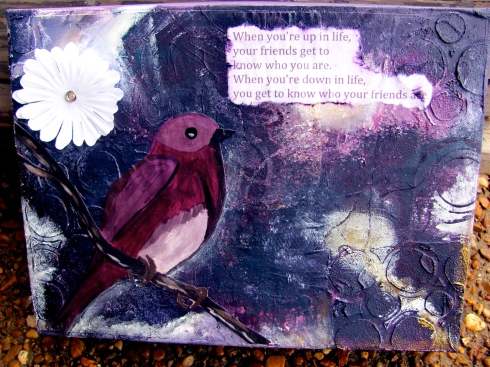
And here it is all finished.

I’m pretty pleased the way it turned out. Tell me what you think; I always enjoy your comments!

Till next week,
Cheers,
Michelle

The one with the photos of the hawk

3 Apr

Happy Tuesday.

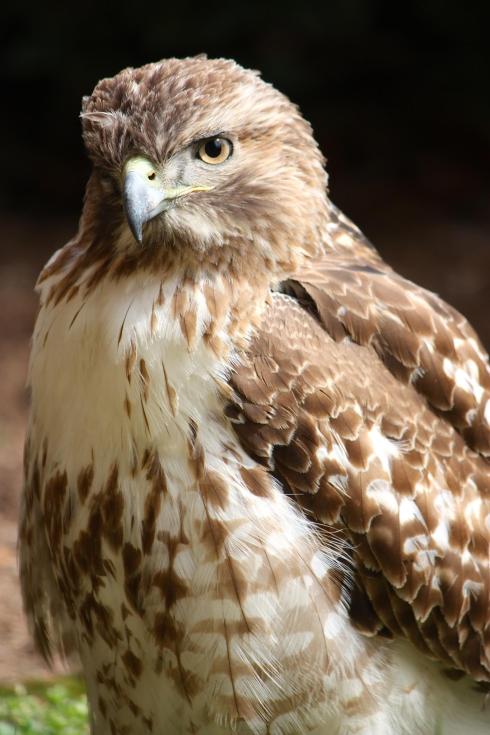
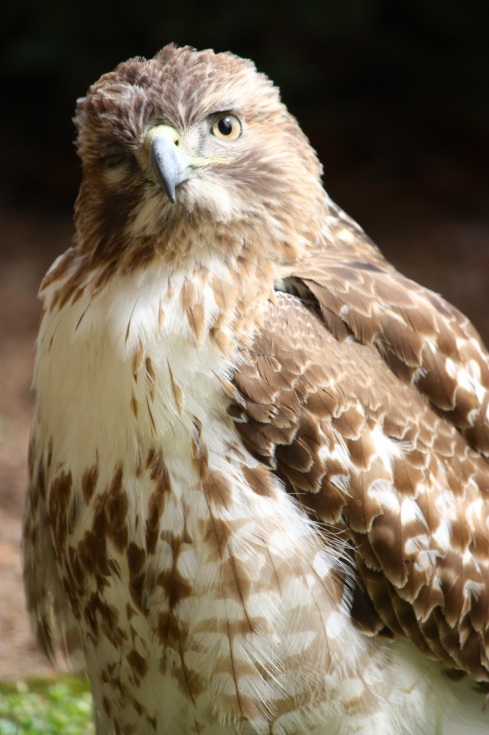
Today I’d like to share a few photos I shot on the campus where I work….

Hawk

Hawk 5

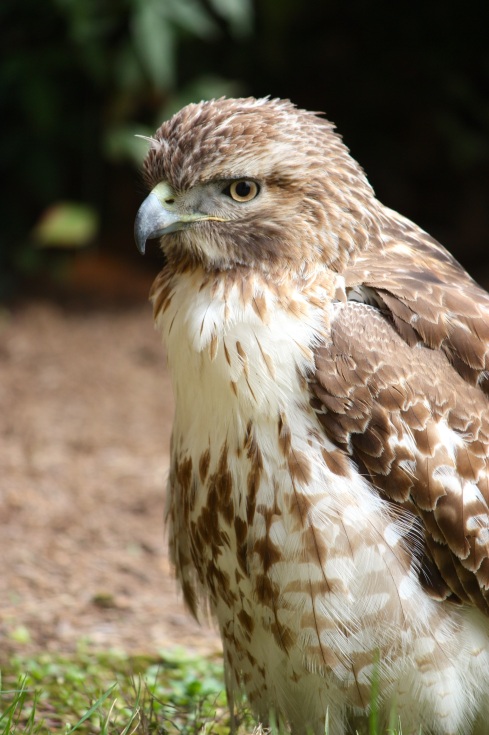
Hawk 6Isn’t she beautiful?! She was sitting outside some of our classrooms for a good portion of the afternoon, just hanging out. One of my friends called my office, told me to grab my camera and join her. I was able to get a few feet away from her and she didn’t seem to mind being the object of the “paparazzi!”  (I must have shot about 30 pics). It’s the closest I’ve ever been to a hawk! Oh, and by the way, they are my favorite (tied with Owls and Turkey Buzzards) so I was thrilled. It totally made my day!

See you on Saturday (I have a new canvas made out of a cereal box piece to share).

Cheers,
Michelle